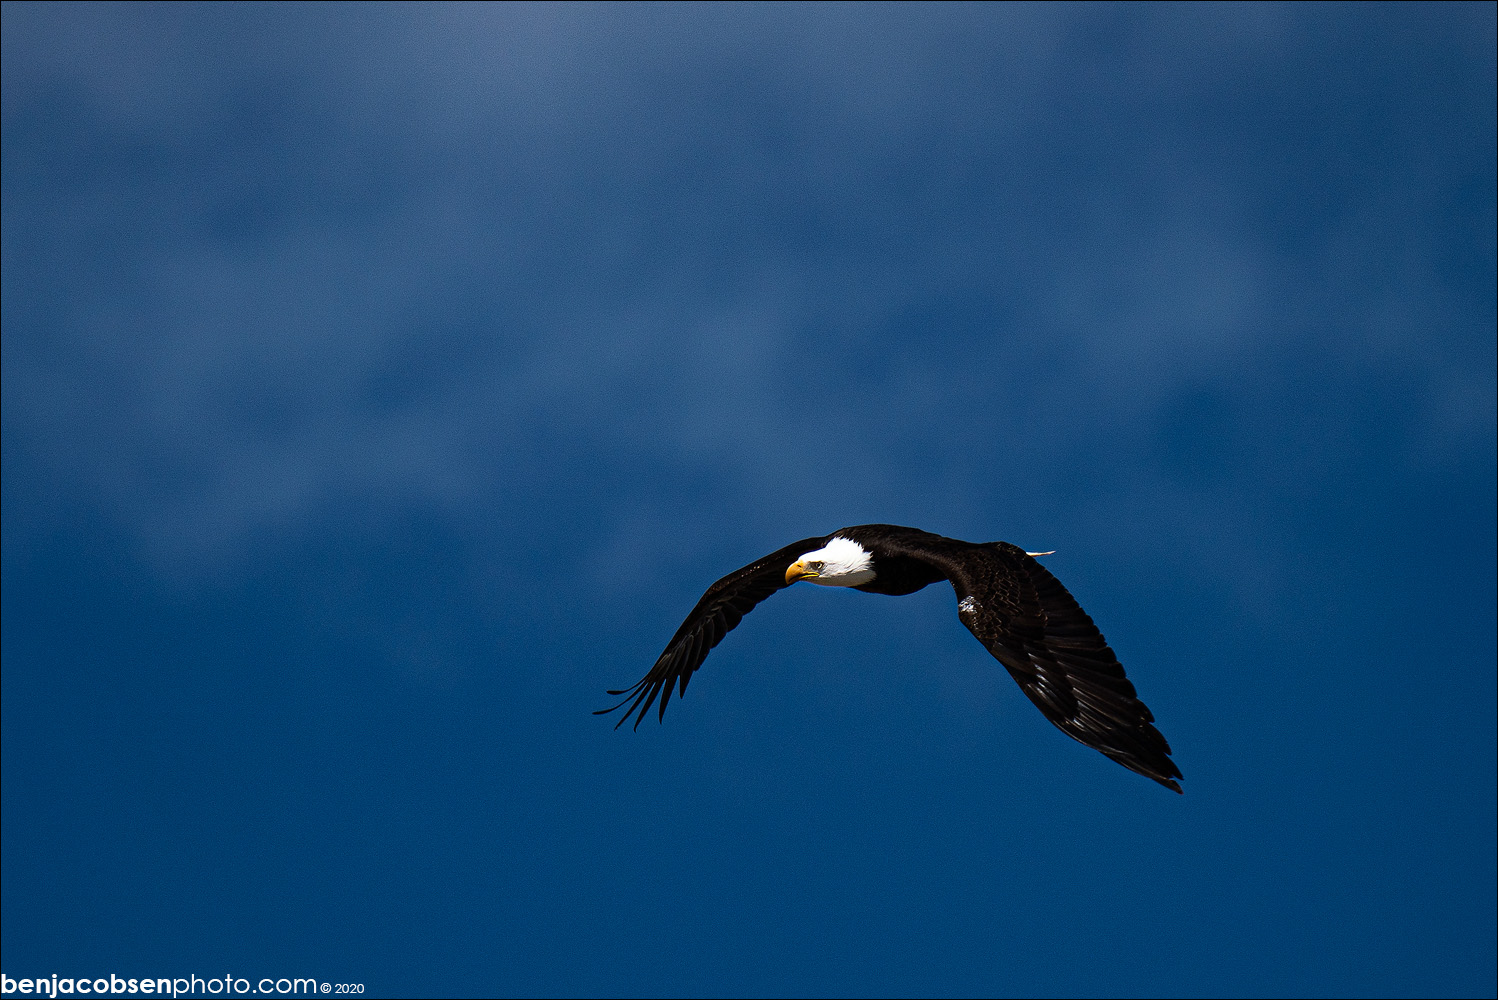
I finally picked up a sony 200-600mm. Since moving to Montana and this lens getting announced I’ve felt like it’s the lens for wildlife photography. I’ve been considering one for a long time but finally bit the bullet, sold the 100-400 and got one! I didn’t own them both at the same time so I won’t have any side by side image comparisons, but I’ll share my thoughts on both as well as some other lenses I’ve owned in the past. Quick thoughts:
- internal zoom! I love that the lens doesn’t get longer as you zoom.
- short zoom throw! Being able to zoom from 200 to 600 with only a 90° twist help make it easier to zoom quickly but also to do so without effecting your composition as much
- hood needs lock button (like 100-400). I do have a “ghetto” fix though, add a silicone wrist band to the lens, it’ll rub on the hood enough to make it difficult to remove unless you want to.
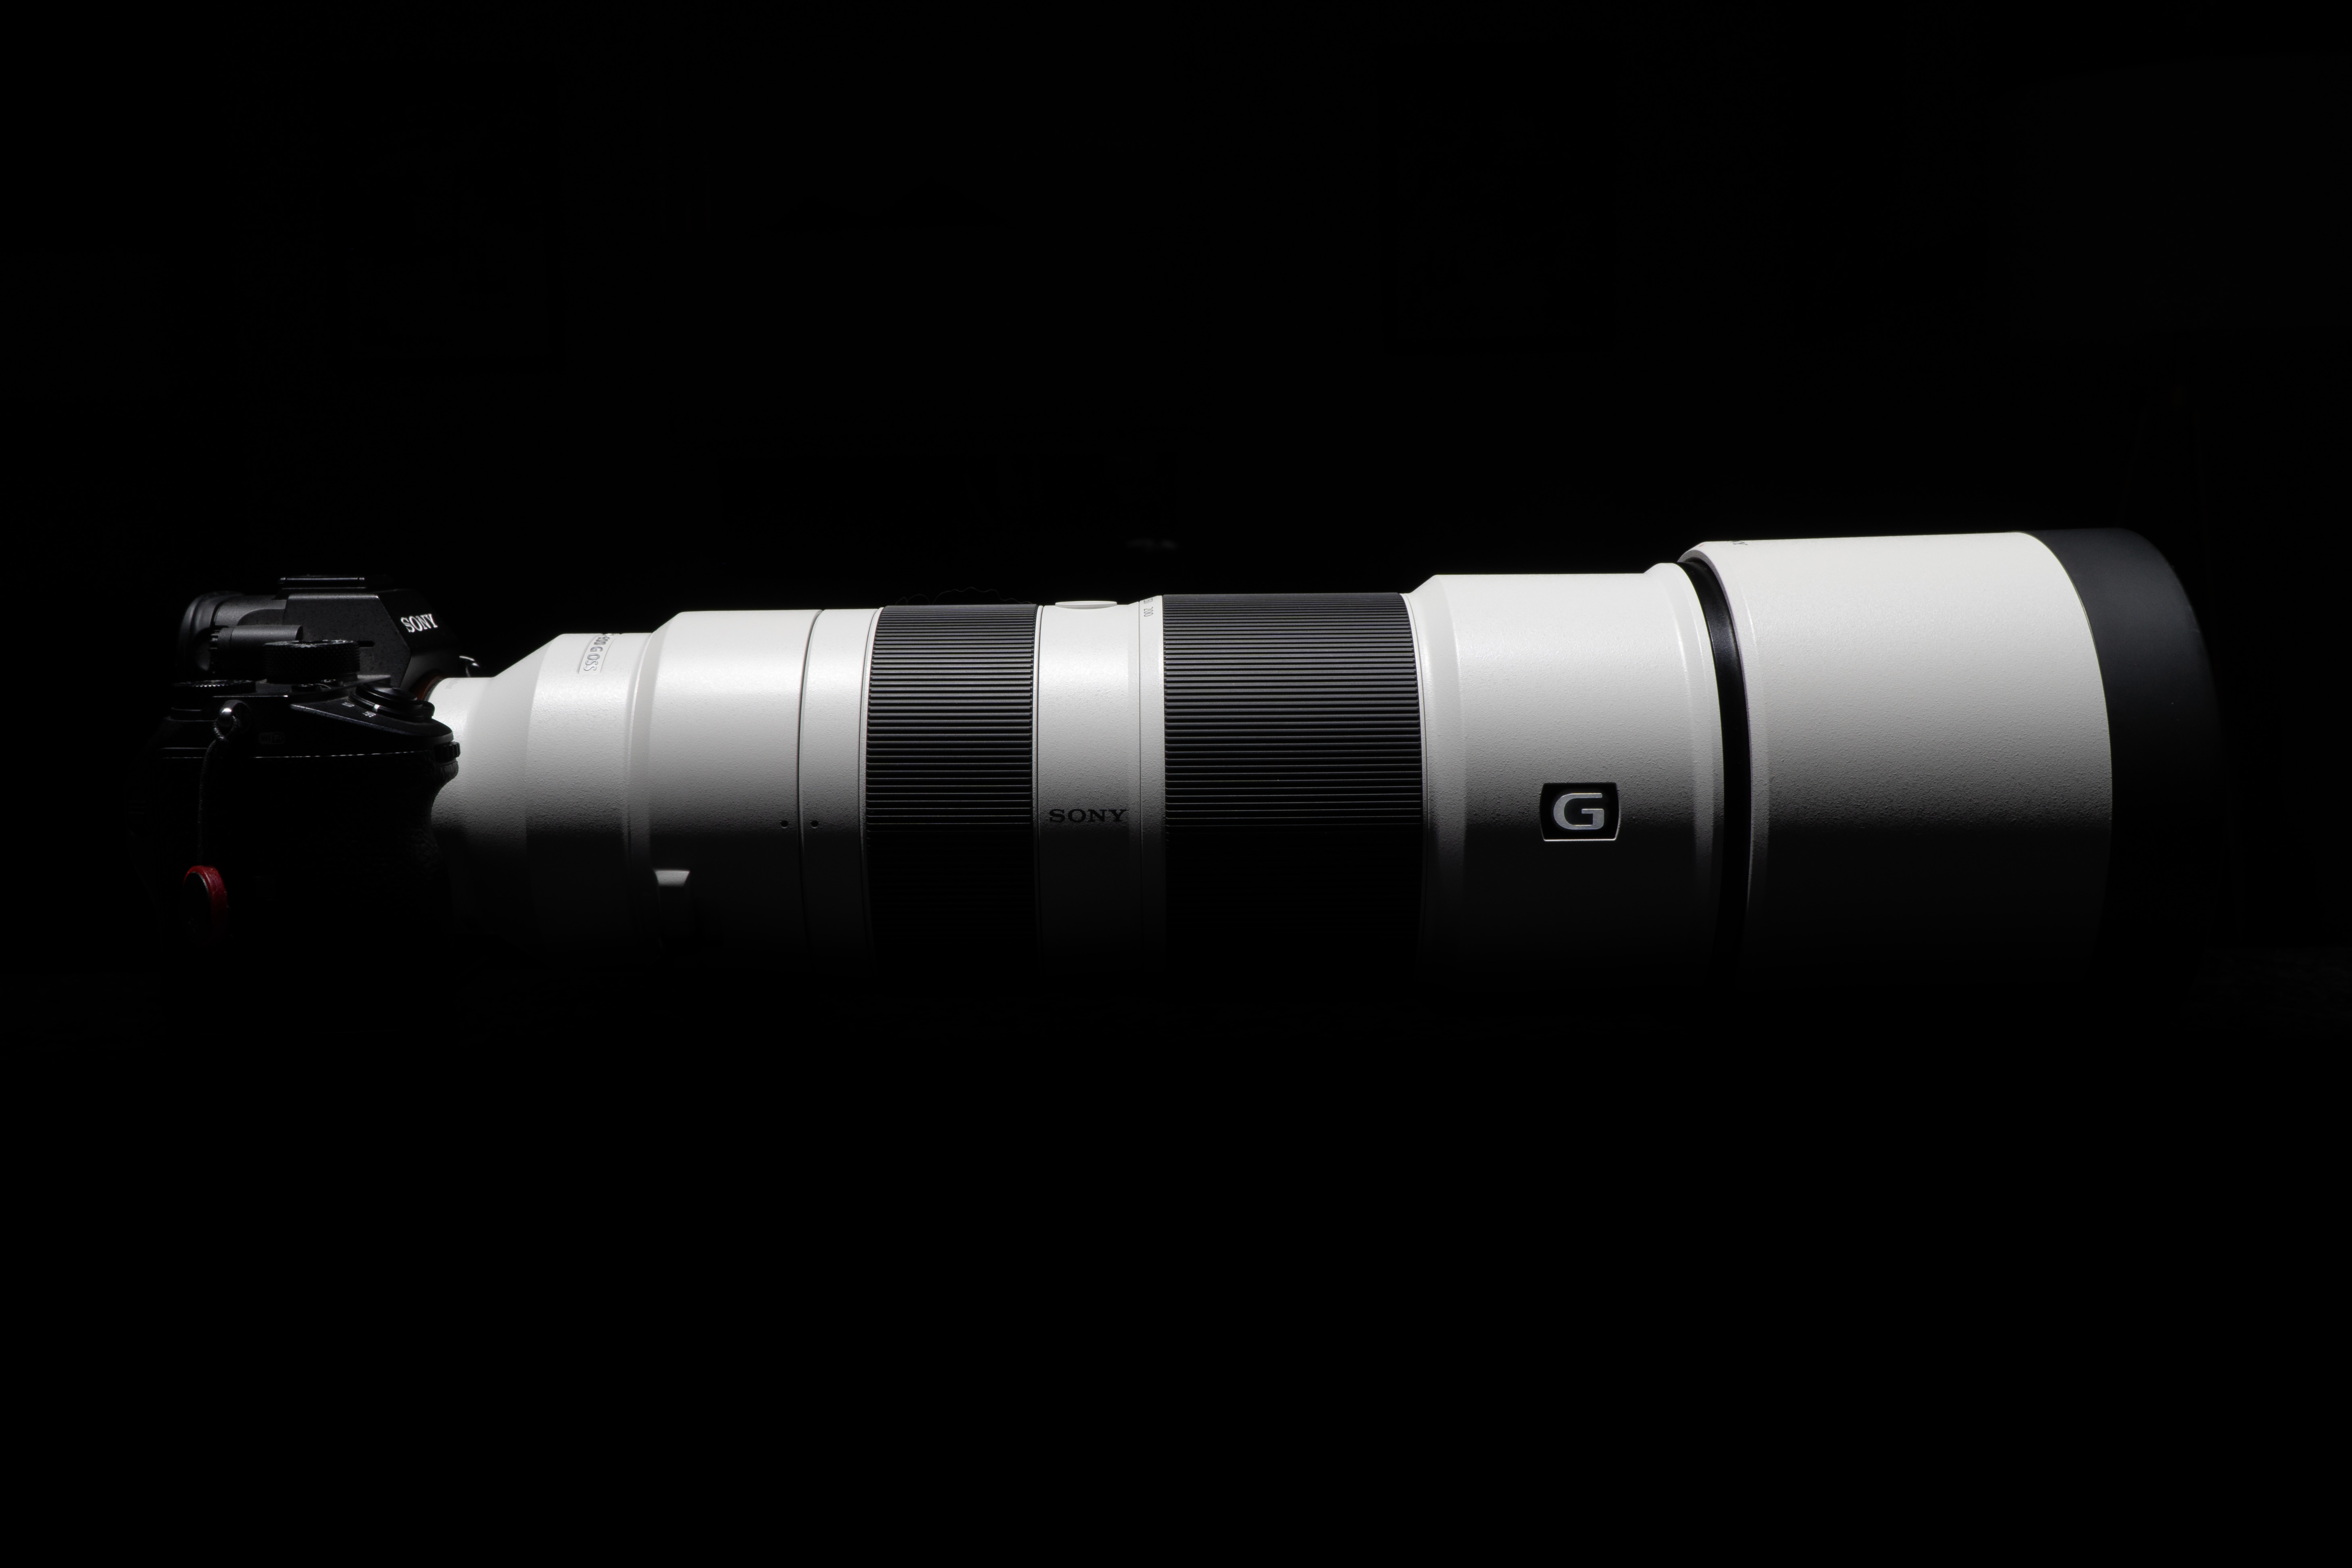
- love the physical design, constant taper and no external zoom
- well balanced, the internal zoom and short throw on the zoom ring make it very nice to hand hold.
- value for money, while not as inexpensive as the sigma and tamron options, the 100-400 is 25% more expensive and the least expensive option with this range that’s an OEM lens from any of the camera makers.
- AF is great even with “lowly” A7riii (w/firmware 3.1)
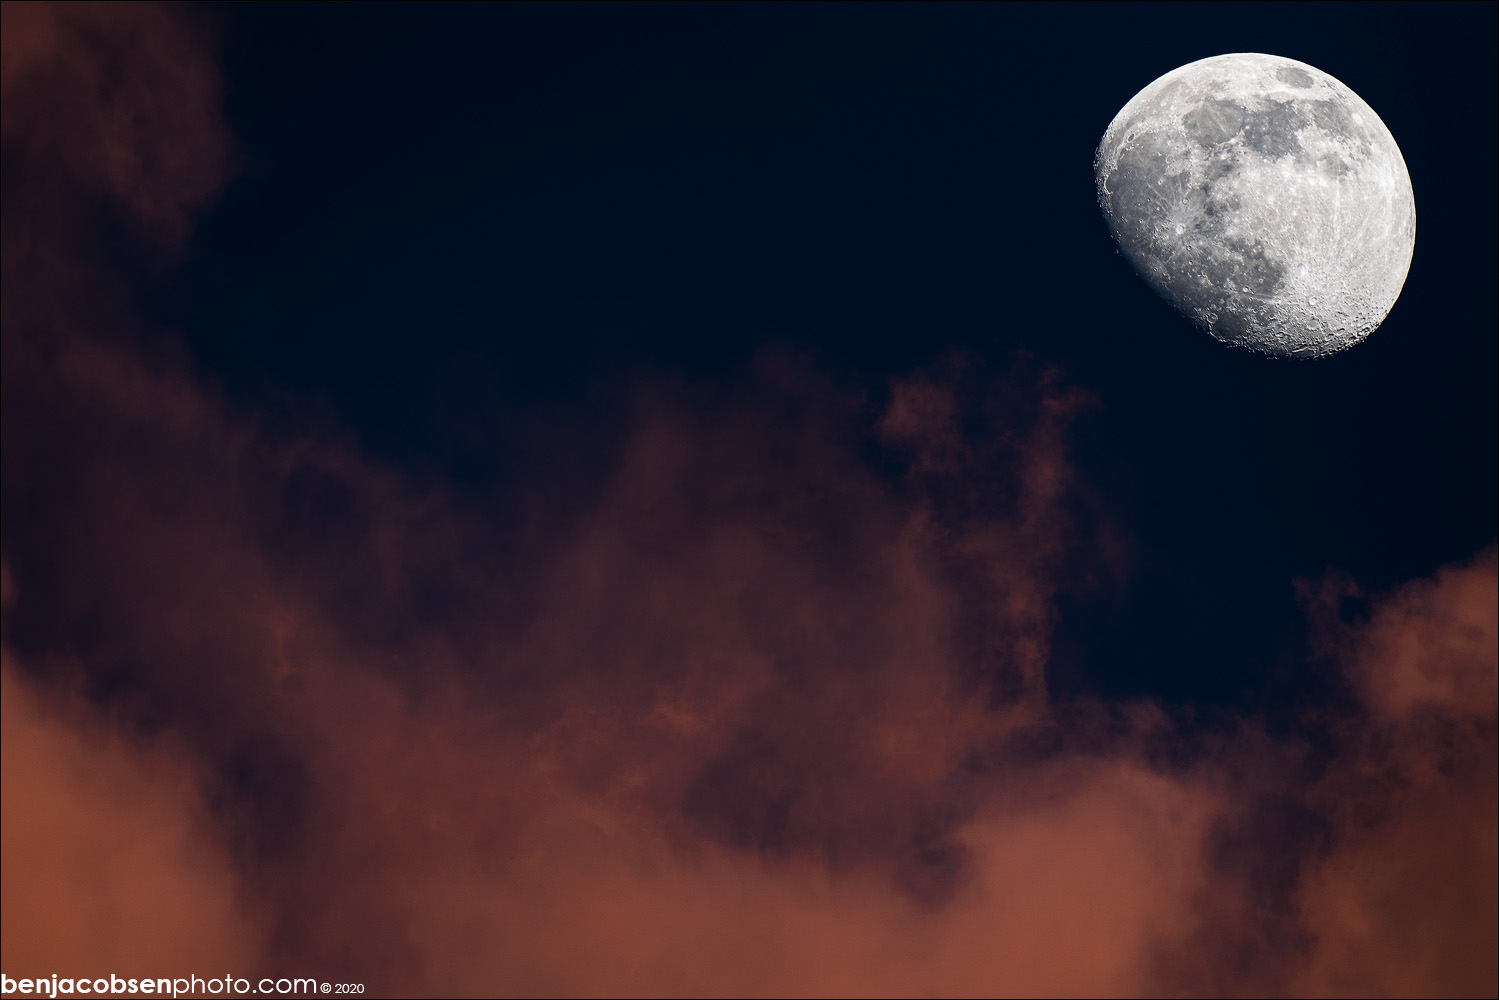
- “easy” moon shots (DSLRs struggle)
- native OSS knows when you’re on a tripod and turns off automatically
- this lens gets images a cell phone can’t (all long lenses do).
- for better or worse, you get noticed. Lots of comments but also some respect/distance given
- This is THE lens that will keep me shooting sony. Nikon/Canon/Fuji have nothing like it in terms of reach with native AF!
Handling & Build:
First let’s cover the handling with this lens. This is a lens that has internal zoom which means it’s always the same length regardless of focal length. This lens is 12.5″ long without the hood and 16″ with the hood in it’s normal shooting position. The camera will add another ~2″ to these numbers. It also weighs in at 4.65lbs! For reference the 100-400 is 8″ long (at 100mm) and weighs 3lbs. So it’s not a small lens and your arms will get a workout if hand holding it for any length of time. But what that internal zoom design gets you is a very well balanced lens that feels the same at any focal length. This makes it much easier to use in the field. Traveling with it won’t be easy as you need a bag with at least 12.5″ of space. I’ve actually setup my backpack to carry the lens on the body WITH the hood in it’s correct/extended position and it takes up the entire length of the backpack. I do this though because it’s ready to go, I just pick it up and can start shooting. The size of this lens is impressive. So much so that it’ll draw comments. Yes all while lenses do, but this is a step above the 70-200s and 100-400s in terms of attention. This isn’t necessarily a bad thing though. People are much more likely to stay out of your way! I will say, personally I really like the design and look of this lens. It might sound vain but there are a few lenses that just nail their designs to me and this is one of them. Sony’s 12-24mm and 10-18mm are 2 others as is the canon 24L. That’s why I put some effort into getting a good product shot for this review!
The build isn’t perfect though. The lens has a built in lens collar with a foot. The foot is removable but a bit of a letdown in that it does’t have arca dovetails included. Tamron is the only lens I’ve seen with that included but it would be a nice touch for the OEMs to do this as well. Without the dovetails you’re stuck either adding a plate to the foot (ugly and cumbersome) or replacing the included foot with an option from wimberley, kirk or RRS (I’m using the wimberley). All of sony’s lenses with a lens collar have this issue. Another disappointment is the hood. It’s similar to most other hoods but because of it’s 5″ diameter it’s easier to knock loose than a smaller hood. Sony should have included a lock as they did with the hood of the 100-400mm. Without the lock, I’ve come up with a “ghetto” fix for mine, I put a silicone wrist band around the lens and pushed it against the hood. This adds enough friction so it’s much harder to twist the lens and it can’t just get bumped off now.
Image Quality:
Next let’s get into the image quality of this lens. 200-600mm is a very impressive range and this lens does well at all ends of the range. Every time I have an image that’s not perfectly sharp it’s because I’ve done something wrong. This lens has OSS or optical steady shot and it’s allowed me to shoot down to 1/125th at 600mm in crop mode. The lens combined with my a7riii has impressive auto focus as well. Yes the a7riv and a9/a9ii have better AF but it’s still impressing me with my camera (I’m using firmware 3.10). It can track amazingly well, much better than I can keep the subject in frame when zoomed in! The one thing that’s a little limiting -vs- the 100-400 is the MFD or minimum focusing distance is 8′. Yes this is a long lens but if the MFD had been shorter it’d be capable of some amazing closeup shots like the 100-400 is with it’s 3.22′ MFD. Another criticism I have of the image quality of this lens would be it’s background blur. It’s always important to find uncluttered backgrounds but this lens’s Bokeh can be busy at times. You can fix it in post but it’s best to just watch your background when shooting. Moving 5′ one way or another can make a massive difference in the background with a lens this long. When I say I can be blamed for bad images this is something to really think about for a second. What do you normally shoot and what will you shoot with this lens? This lens will really teach you a lot about your technique. OSS can’t solve horrible stability issues when shooting at 900mm effective. If you jam the shutter button down you can move the composition. If you’re already a long lens shooter then there’s nothing new here. But if you’re new to long lenses there’s a lot to learn and practice. We’ll dive more into that in a bit.
The reach of this lens is also impressive. 600mm is a lot closer than 400mm in practice (duh!). This lens also plays nicely with the 1.4 and 2.0 teleconverters (TCs). AF will be better with the 1.4 and it’s brighter aperture. But what I’ve really enjoyed with my a7riii is the fact I can use a “digital teleconverter” by using crop mode. This gives me a 1.5 cropped portion of my sensor that’s still ~18mp. Some people will say to never crop in camera, “why throw out those pixels?”. I have some prints 4′ wide with my older DSLRs that are 18mp so I know I can print these smaller files. What this mode gets you is a 300-900mm effective lens without having the hit to the aperture a teleconverter applies. Not just this but you get smaller files so the buffer clears faster while also meaning less time to handle files in post later. This is good if you KNOW you were going to crop later. If I’m unsure I’ll use the full frame image, but if I know I need more reach than the native 600mm gives me I have no hesitation hitting that crop button. You also get better coverage with the AF system in crop mode as well (AF coverage in full frame is still amazing in full frame -vs- DSLRs but it is better yet in crop mode). Now if you have a a7riv you have 26mp in crop mode which is more than the a9 and sony’s aps-c bodies! If you have an a9 I can see how you’d want the TCs with this lens. I will say I’ve used the TCs with the 100-400 and while they work impressively well it is not easy to add/remove a TC in any sort of a hurry. Yes you have to wait for the buffer to be clear to use the button to switch, but I’d challenge someone to a race -vs- putting a TC on/off. You’re also not exposing the sensor to dust as often.
Uses:
What will you shoot with this lens? If you already own a tele zoom you know the deal here. But if you’re curious of things you can use a lens like this with there are tons of options. Sports, wildlife, birds, (compressed) landscapes, airshows, moon shots and of course the zoo! If you’re a professional shooter you know why you need a lens before you buy it. If you’re a hobbyist you might be wondering how often you’ll put a lens like this to use. I live in Montana so I’m always seeing wildlife and birds to shoot. This lens is a better option for me -vs- the 100-400 I had previously because of it’s longer reach. I was using my 100-400mm with a TC about half the time. I’m now using this lens without the TC and getting a similar range. The 200-600mm alone -vs- a 100-400 with a TC is $1,000 less expensive or 33% less. That’s a huge difference. For me it’s an easier combination to use because I’m not juggling a lens, body and teleconverter out in the field worried about dust. I’m also a big landscape guy and this lens is awesome for compressed landscapes. I will say starting at 200mm can be a bit tight at times so I can see the argument that the 100-400 might be better if landscapes are your focus or that you might want a lens in the 70-200/70-300 range to fill in that gap if you need it. I’ve found I’m happy going from my tamron 28-75 to this lens typically. If I want more than 75mm I typically want a lot more.
For sports shooters I can see how this zoom will be very convenient. The 5.6~6.3 maximum aperture might be limiting depending on the light. I know for both sailing and surfing photography (when I lived in Rhode Island) this lens would be a killer option. The AF sony brings to the table mixed with their high ISO performance makes this a great option. Another event I’d love to shoot with this lens is an airshow. We used to live near an airbase with a show in Rhode Island and long lenses were amazing for that. I’ve shot airshows with a 150-600, 100-400 and 70-300. The longer lens was always appreciated but the fact this lens doesn’t extend when you zoom makes it much easier to use hand held in that scenario. One other subject you’ll see when you look at hashtags or galleries for long lenses is moon shots! The moon is never easy to shoot for two reasons. The first is it’s tough to focus on. When I had DSLRs (5Diii, 7D) I always had to manually focus to get tack sharp moon shots. With this lens on my a7riii (and to be fair with the 100-400 as well) the focus jumps on target and stays there. The second issue with moon shots is always exposure but that’s true with all cameras. It’s a light colored subject lit by the sun (so sunny 16 rules apply) in a black sky. Cameras love to overexpose the moon. There’s nothing special here, just get your exposure right as you would with any other camera, but this lens has allowed me to get the best moon shots I’ve ever taken because it’s the longest lens I’ve owned while also nailing focus easily.
Other Options:
If you’re considering this lens you’re either considering or already own some of the other options in the tele zoom category. I’ve owned most of the other options. Here’s how they compare:
- 70-300mm: The 70-300 is a nice compact tele zoom. It’s great for travel and really a gateway drug to longer lenses especially considering it’s half the price and much smaller. But if it’s leaving you wanting more reach then you’ll really appreciate the longer range the 200-600 offers. I can see a case where you’d own both (for a long time I owned the 70-300 with a tamron 150-600).
- 100-400mm: This is the best all around option, but leaves me wanting lighter for travel and more reach for wildlife. The 100-400 makes me feel like I “need” TCs which are difficult to switch on/off the camera quickly. The fact that the 100-400 for sony is $500 more lens to lens and $1,000 more with a TC makes it harder to choose for me. If you can use a 100-400 without feeling like you need a TC, then it’s probably the better option for you, but if you feel like you need a TC with the 100-400 then I’d suggest the 200-600 as the better option as long as it’s size doesn’t put you off.
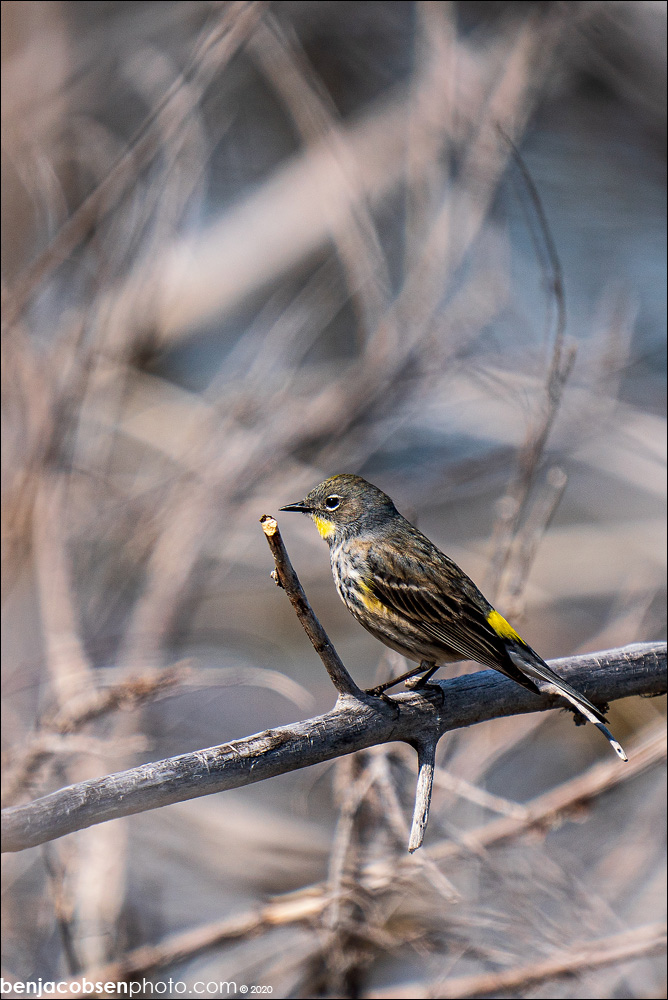
- 150-600mm 3rd party: Sigma and tamron make some great options. But they all need to be adapted to sony. These are the cheaper option but AF struggles. AF is tough with adapters (but you can MF since they’re old DSLR lenses). I’ve used both versions of the tamron on sony, both a mount sony and EF mount (canon) with the appropriate adapters. Auto focus will work but it’s slow and tracking struggles. For static options I had great success with my 150-600mm but now that I have a native option I’m more than happy to pay more to have the autofocus. Another issue with the sigma/tamron options is they both zoom externally. This makes them much harder to hand hold as they have horrible balance at 600mm ends.
Camera Setup:
If you haven’t used a long lens before there are a few things you’re going to want to think about and change some camera settings to help you with some issues long lenses present. Yes this lens has OSS (optical steady shot or image stabilization). But that won’t cure all your problem. This lens weighs 4.5 lbs and is ~18″ long with a camera on the back and hood on the front. You will need all the help the OSS gives you and then some to get stable shots without motion blur. Because of this you’ll want to pay attention to your shutter speed. This will be subject and situational dependent. In bright sunlight I’ll use Av and set it to f/5.6 (zoom to 200mm and set it, then it’ll jump to 6.3 as you zoom). This gives me the highest shutter speed possible. With this lens I rarely stop down because the DOF at 600mm is so narrow anyway. I’ll then watch my shutter speeds and bump the ISO up as needed. Once the light starts to come down I’ll switch to Tv and pick the shutter speed I want with ISO set to auto. Why these options? In bright light if I use Tv the lens will hit actually end up stopped down at times because 1/5ooth and ISO 100 is too bright so the camera’s only choice is to stop the lens down. As I mentioned we’re typically not going for more DOF with this lens so I’d rather have a faster shutter speed than more DOF. But as the light drops I know I want wide open and I might need to control the shutter speed. So here I switch to Tv so I can pick the shutter speed I need for a stable shot or to freeze action. Because I’m picking the shutter speed and the camera is defaulting to a wide open aperture AND I have auto ISO turned on this means the camera adjusts ISO to make the exposure work, I pick the shutter speed and we stay wide open. In both scenarios I’m typically shooting wide open and picking the shutter speed, I’m just using the 2 different modes to let the camera help me as much as possible without ending up at f/11 and 1/500th in daylight when f/6.3 and 1/2000th would be better.
Focus and drive modes are also important to understand here. Sony camera’s have 4 drive modes in terms of FPS. Slow, mid, high and high+. The actual FPS changes by model but the a7r bodies shoot 10fps in high+, 8fps in high, 6fps in mid and 3fps in low. Now your subject and skills will determine what frames per second (FPS) you might want. I’ve noticed my keeper rate in single shot mode is pretty low, but using any of these drive modes increases my keeper rate significantly because my body is more stable as I get into the sequence. I setting into a better stance and I’m just more stable. This is a skill I’m sure I’ll improve over time but for now I can see that the later images in a sequence are almost always sharper. Now, which mode you choose will depend on subject and how many shots you want to cull. The biggest thing to consider in this choice is to know that high+ locks exposure and focus as well as not giving you a live view in the EVF. It shows a slideshow as you’re shooting of your PAST images. This makes it very hard to track subjects. For this reason unless I absolutely need the 10fps, I shoot in “high”. Focus wise, once you change your drive mode into any of the burst settings this turns the tracking on in the camera. I use the “lock on AF-flexible spot”. This means you pick the spot to AF from, it’s size and position in frame, but once the camera locks it tracks whatever subject it locked on across the entire frame. There are some other tracking options including wide and zone but I love being able to use a small frame to pick where to start (a birds head for example) and then the camera keeps using that as things move in the frame. This works well with the a7riii but the a7riv is better and the a9/a9ii are the best options here for AF if that’s needed. I’ll say the a7riii is the best AF I’ve used with a long lens, I can only image what the better options are capable of.
One last setup option I use is I set custom button C1 (the closest to the shutter) to active crop mode. This lets me quickly switch from 42mp full frame at 200-600mm to 18mp aps-c mode with 300-900mm effective. It’s a great tool for me and it also makes the buffer faster while giving me that additional reach. AF is also slightly better because the AF points cover the entire (smaller) APS-C frame. The great thing with an EVF is you don’t get a smaller view, you just notice the image get bigger in the viewfinder. I would only recommend this option with the a7r series of cameras with their higher MP counts leaving you with enough resolution in crop mode. The a7rii and a7riii have ~18mp in this mode and the a7riv has 26mp!
A7riii specific issues
- AF frame color stuck on gray, (needs red option like a9 firmware 6 added & a7riv has)
- can’t change options while it’s writing to a card.
- small body, big lens! Adding a grip really helps with hand holding
- crop mode “only” 18mp
- AF tracking not as good as a9/a9ii/a7riv
A few quick complaints with my a7riii that I’ve noticed more with some of the settings from above. It’s often hard to see which AF point is active. Default color is gray which blends in (even more with longer focal lengths I’ve found). I’m used to the red points from my canon days. Sony has fixed this with the a9ii and a7riv and updated the a9 but they haven’t rolled it out to the a7riii via firmware… Another big complaint is how the camera can’t change settings while it’s writing from the buffer. I get why some things can’t be changed but if I can shoot more photos why can’t I switch to video? The biggest issue for me is you can’t change AF settings, drive settings or crop mode… The last one is my biggest hang up. There are a lot of times I start shooting at full frame, realize I want more reach and can’t switch until the first shots are written… Some people will complain about the body size, especially with the bigger lens. For me I really like the added grip my RRS L-bracket adds. A grip can help a lot as well and gives you the added bonus of double battery capacity. The other two issues with the a7riii aren’t huge issues for me, I’ve actually been impress by both, but time moves on and they’ve been improved with newer cameras. The first is the image is “only” 18mp in crop mode. As I mentioned earlier I’ve printed 4′ wide images with my old canon 7D. 18 is enough but more is better right? The a7riv allows for more cropping and more detail in crop mode. If you can handle the extra file size that’s usually not a bad thing. The second would be the AF with the a7riii isn’t as good as the a9 or a7riv. Now I’ve been impressed with this combo (a7riii and 200-600mm) but from what I’ve seen online the a9, a9ii and a7riv step their game up a notch, and again better is better even if the a7riii is good enough.
Accessories
- acra foot (3 options)
- rubber silicone wrist band
- gimbal/ball head/tripod
- grip, better for vertical but also better balanced with long lens and more battery for OSS usage
- lens coat?
- Teleconverter
If this is your first long lens you’ll quickly learn long lenses “need” a few accessories to help them really shine. The first thing I did with my 200-600 was to replace the lens foot on the tripod color. I use arca plates on all my cameras and any lens with a “foot”. The OEM foot has no dove tails to work with an arca compatible clamp. So you either need to add a plate to the included foot or replace the whole thing. There are three options for replacements, wimberly’s is not quick release and is longer. It was my choice for a few reasons, I like the longer grip for carrying the lens and I want something rock solid. Kirk and RRS both make easily removable options but I prefer the more solid feeling with the wimberly. The second “accessory” I added was a rubber wrist band. As I mentioned earlier the hood doesn’t have a lock. Putting a rubber band on the lens just behind the hood adds enough friction it won’t move being very deliberate about it. Next up is support for your long lens. You’ll want a stable tripod for this at some point. Travel tripods are going to struggle with this much weight. Then you’ll want to consider your tripod head. You can use your ball head flopped over into a “drop notch” reasonably well. I am considering either a proper gimbal or a “sidekick” to pair with my ball head long term but haven’t decided just yet. A grip is another consideration. This lens is long enough you really need to have good posture to get shots without motion blue. Keep those elbow tucked! Shooting vertical without a grip makes this really hard, adding the grip means you can keep that right elbow tucked against your body in vertical compositions as well. And of course a grip doubles your battery capacity. Lens coats are popular with the wildlife crowd helping keep the animals from getting scared away quite as easily. They also keep the lens from getting knocked around quite as much since it’s a bigger lens. The last accessory to consider are teleconverters. So far with the a7riii I’ve been happy without them thanks to having crop mode. Long term I might rent them to see how AF handles them and what the IQ is like. If you have an a9 or a9ii they’re going to be much more important since the crop mode there takes a big hit leaving you with ~11mp.
Techniques
If you’ve long been a long lens user there won’t be much new here with the 200-600 vs other lenses, but if you’re new to long lenses here are some of the things you’re going to learn:
- holding a lens still (grip for vert)
- finding things then zoom in
- learning to compose with a long lens, finding clean backgrounds
This lens will force you to improve your shooting skills. A 4.5# 18″ long lens requires good “form” to get nice sharp images. The first skill you’ll learn and or improve is the ability to hold such a large lens still and take pictures. Vertical shots will be easier with a grip as you can keep that right elbow tucked against your body vs having it in the air in vertical w/o a grip. I’ve found I need to “squeeze” the shutter more than “press” it to keep everything stable. If I press it I’m introducing enough rotation it can blur images even with OSS turned on at slower shutter speeds. The last thing you’ll learn has to do with working on compositions with a long lens. Finding a subject (bird in the sky for example) and zooming in to 600mm isn’t as easy as you think. If you start at 600mm you can miss the bird or even the moon entirely leaving you searching the sky for something that’s easy to find with your eyes. I try to find it at 200mm then zoom in as needed so I don’t loose the subject. The other consideration is trying to get as clean of backgrounds as possible. The more distance you can have between your subject and background the better as well as the closer you can get to the subject. This will require a lot of leg work and patience getting as close to your subjects as possible, even with a 600mm lens! Another consideration for good compositions is to get low as this will help change and clean up backgrounds a lot as well.
Conclusion
So I’ve said a lot about this lens but how do I really feel about it? I’m a big fan. I love the range it gives me even though it means it’s harder to travel with. With my a7r family body I love the ability to use crop mode instead of a teleconverter. Yes the IQ could be better if it has better/less busy bokeh and if it could focus closer but the IQ we have is pretty amazing for a tele zoom at this price. Yes it’s more expensive than the tamron and sigma options, but once you buy and adapter for those it’s less so and the native AF along with the smart OSS makes it worth it to me. I much prefer the internal zoom in this version -vs- external in sigma and tamron’s 150-600s. I do wish the hood has a lock and the lens foot had arca dove tails. Accessory wise most people buying this lens should set aside $100~$500 for accessories depending on your current setup and what you might need for this (better tripod head/gimbal, grip, lenscoat, arca foot, or possibly a teleconverter). Personally I’ll be adding a gimbal to my kit and probably a lenscoat. I’m torn on a grip as I’d like the vertical button and added power but it makes the camera a lot bigger and when I’ve tried grips in the past I still use the camera’s shutter out of habit even with the second button there…
All things considered this lens checks the most boxes for me for a telephoto zoom. I’ve really enjoyed the reach of the lens as well as the way it’s built. I much prefer the internal zoom. It’s not perfect but sony has hit a sweet spot with this lens. I’d also say this lens could be a “system changer” for a lot of wildlife shooters. None of the other brands have anything OEM that can compete with this lens without being a lot bigger, heavier and more expensive except for Nikons 200-500mm.
Subject Scavenger Hunt:
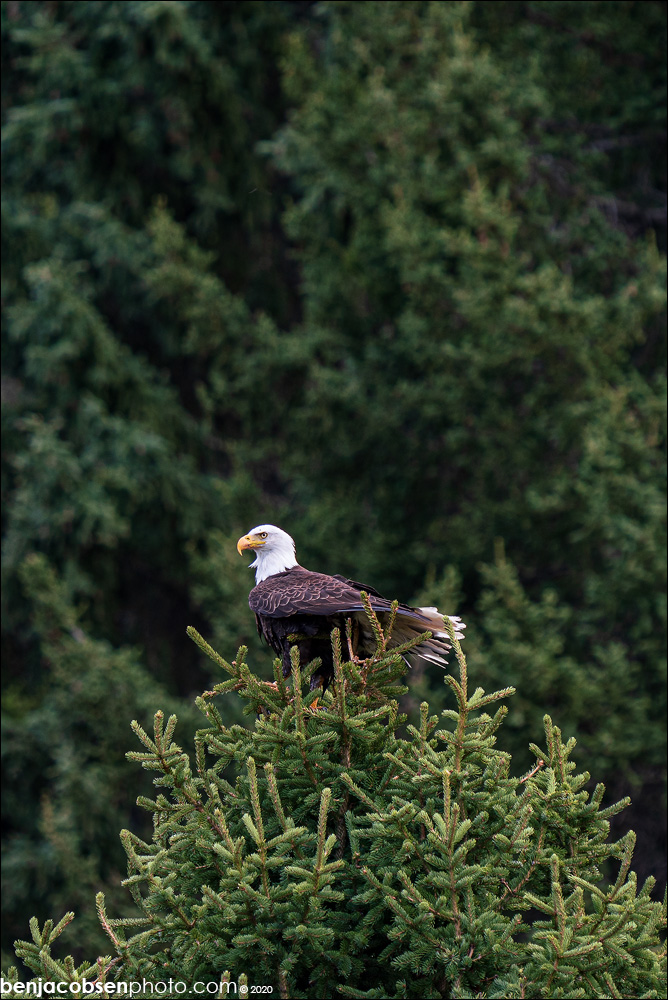
- more eagles
- moose
- black bear
- brown bear
- mountain goats
- big horn sheep
- fox
- coyote
- wolves
- marmut
- ground hog
- elk
- bison
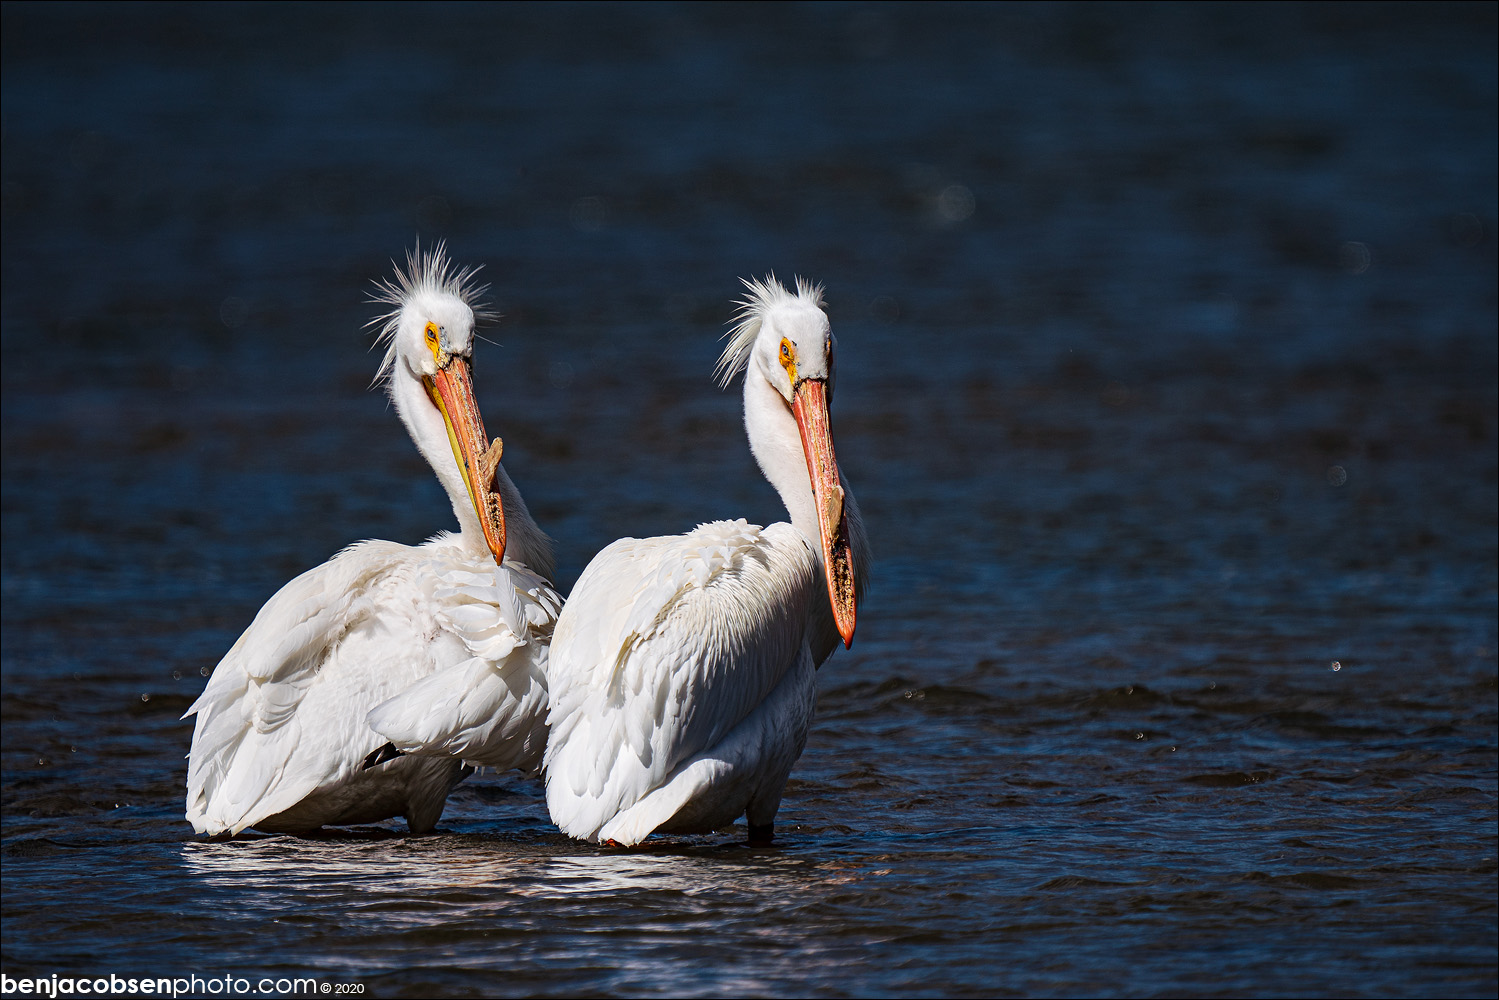
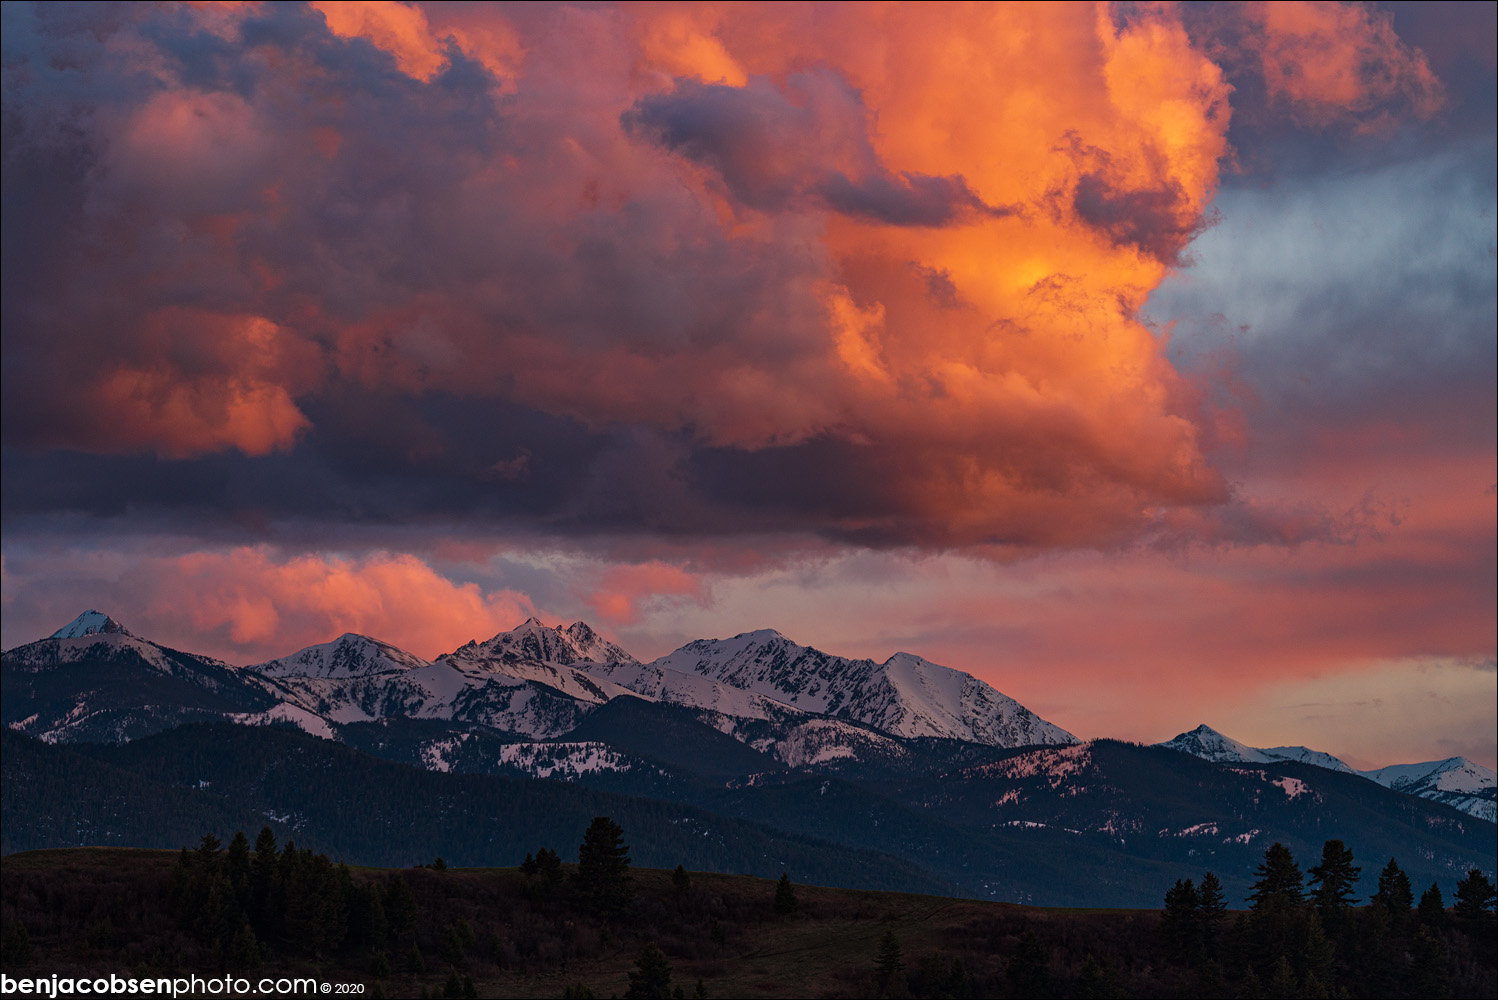
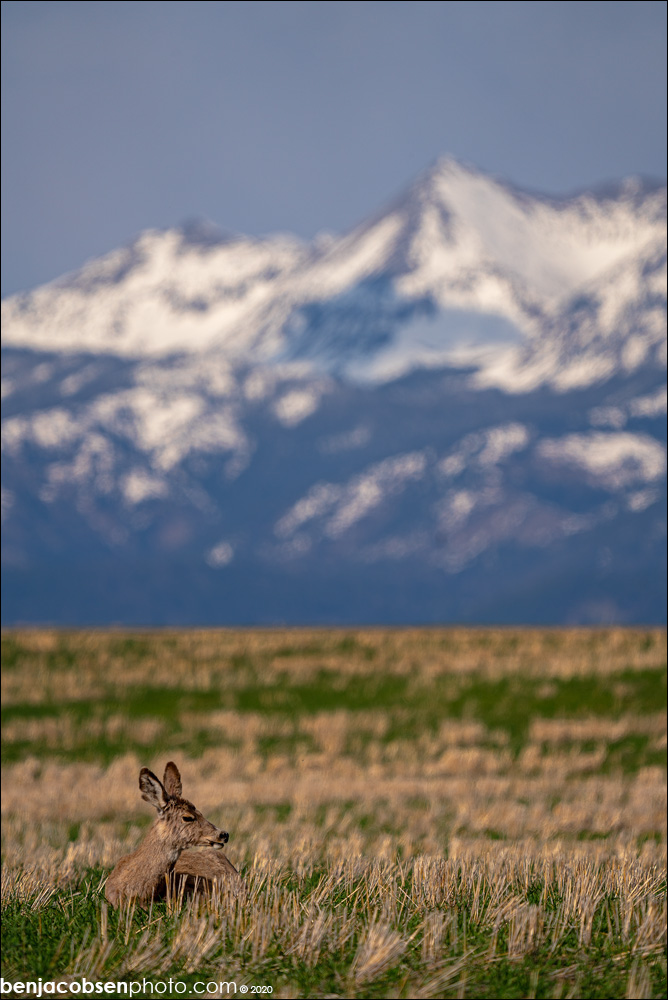
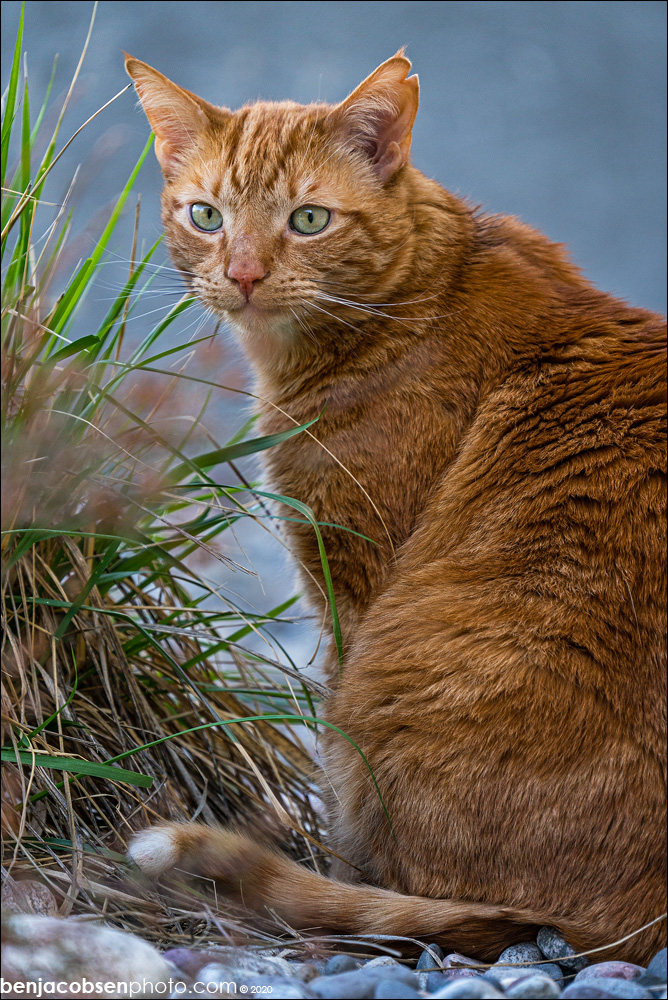
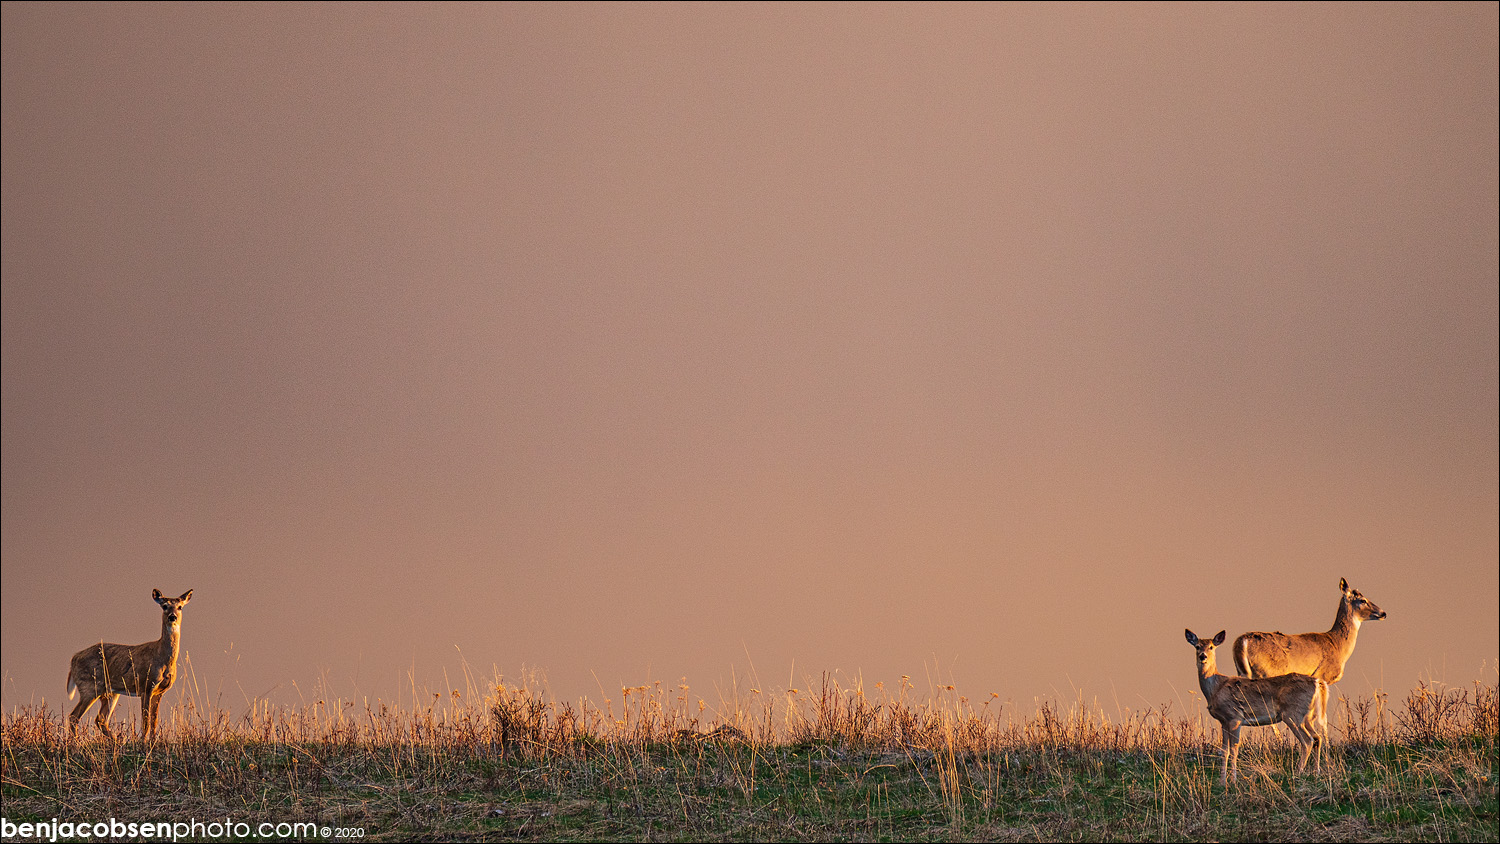
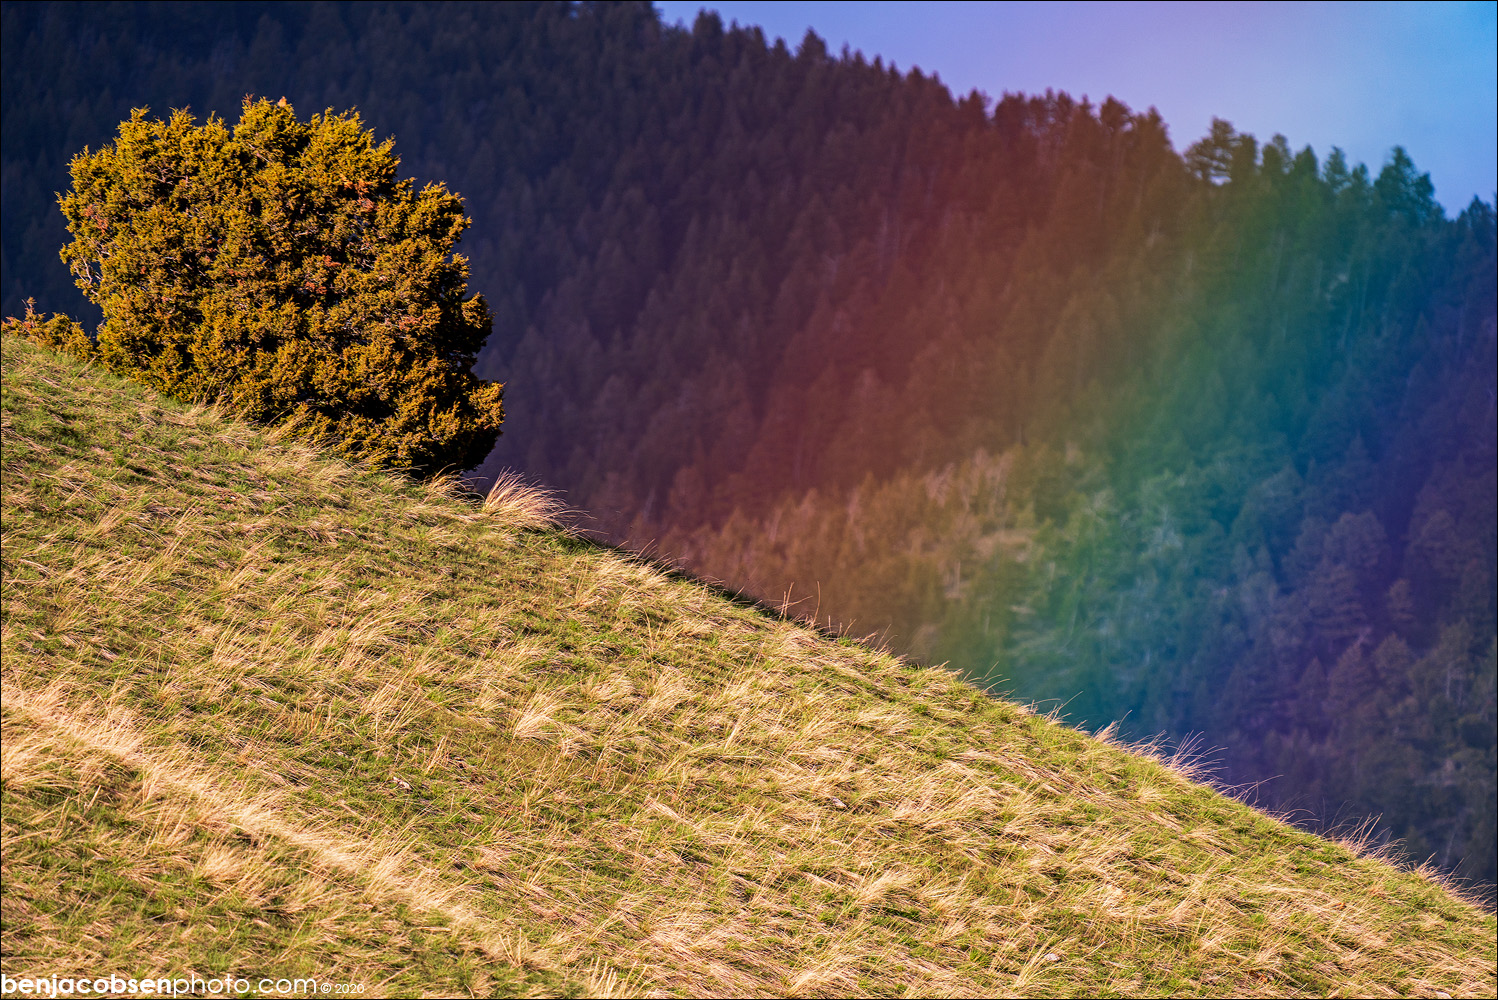
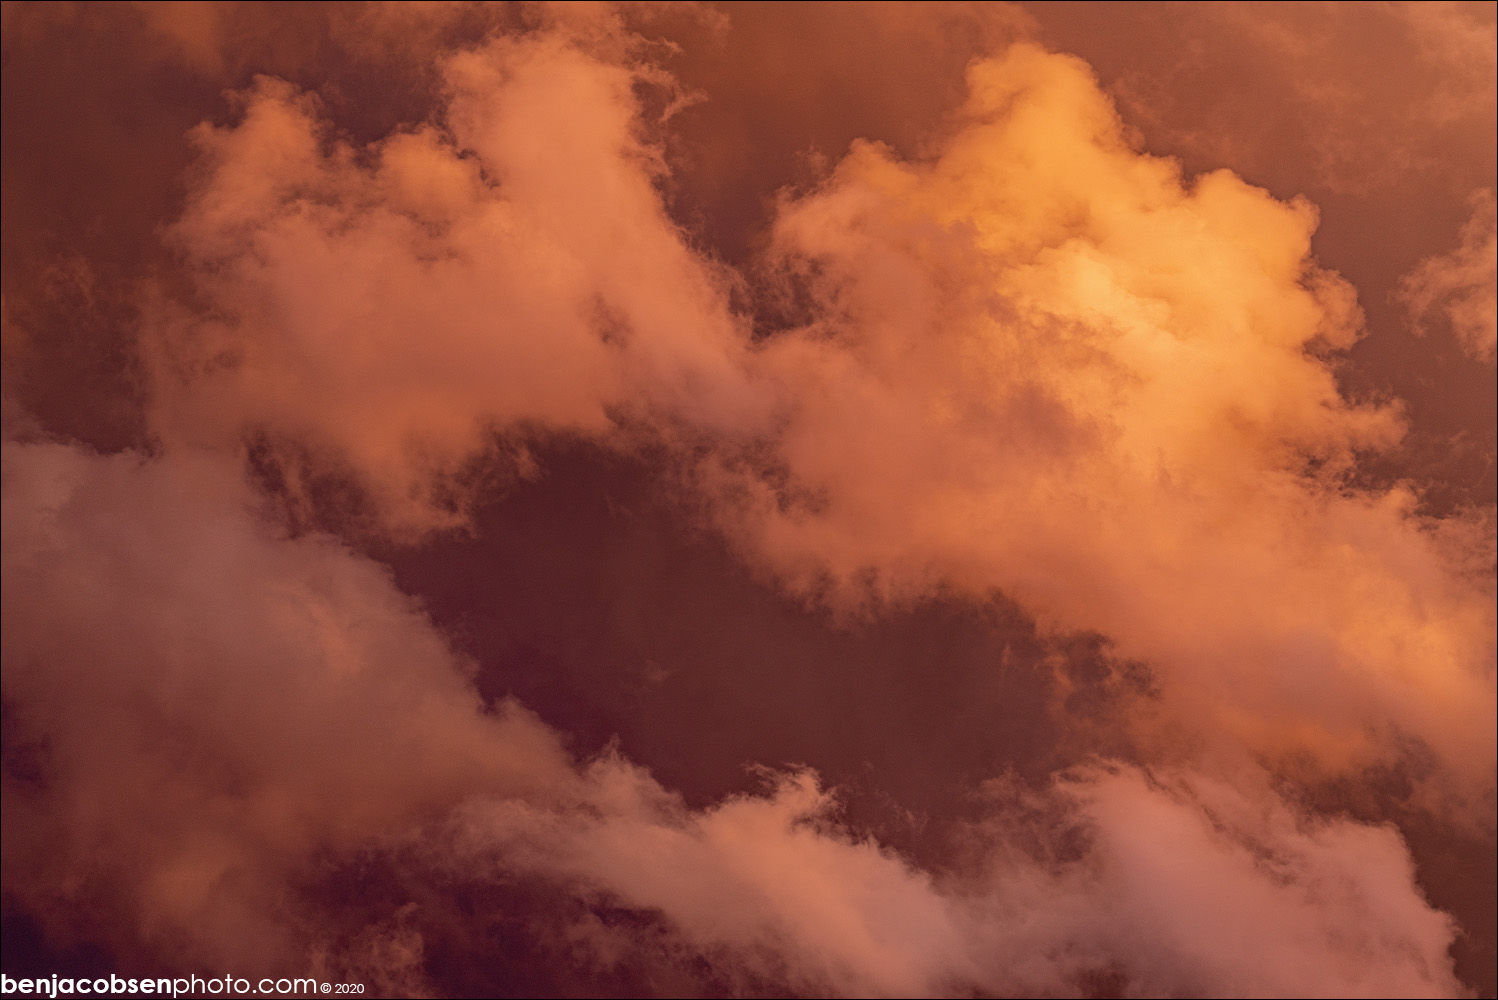
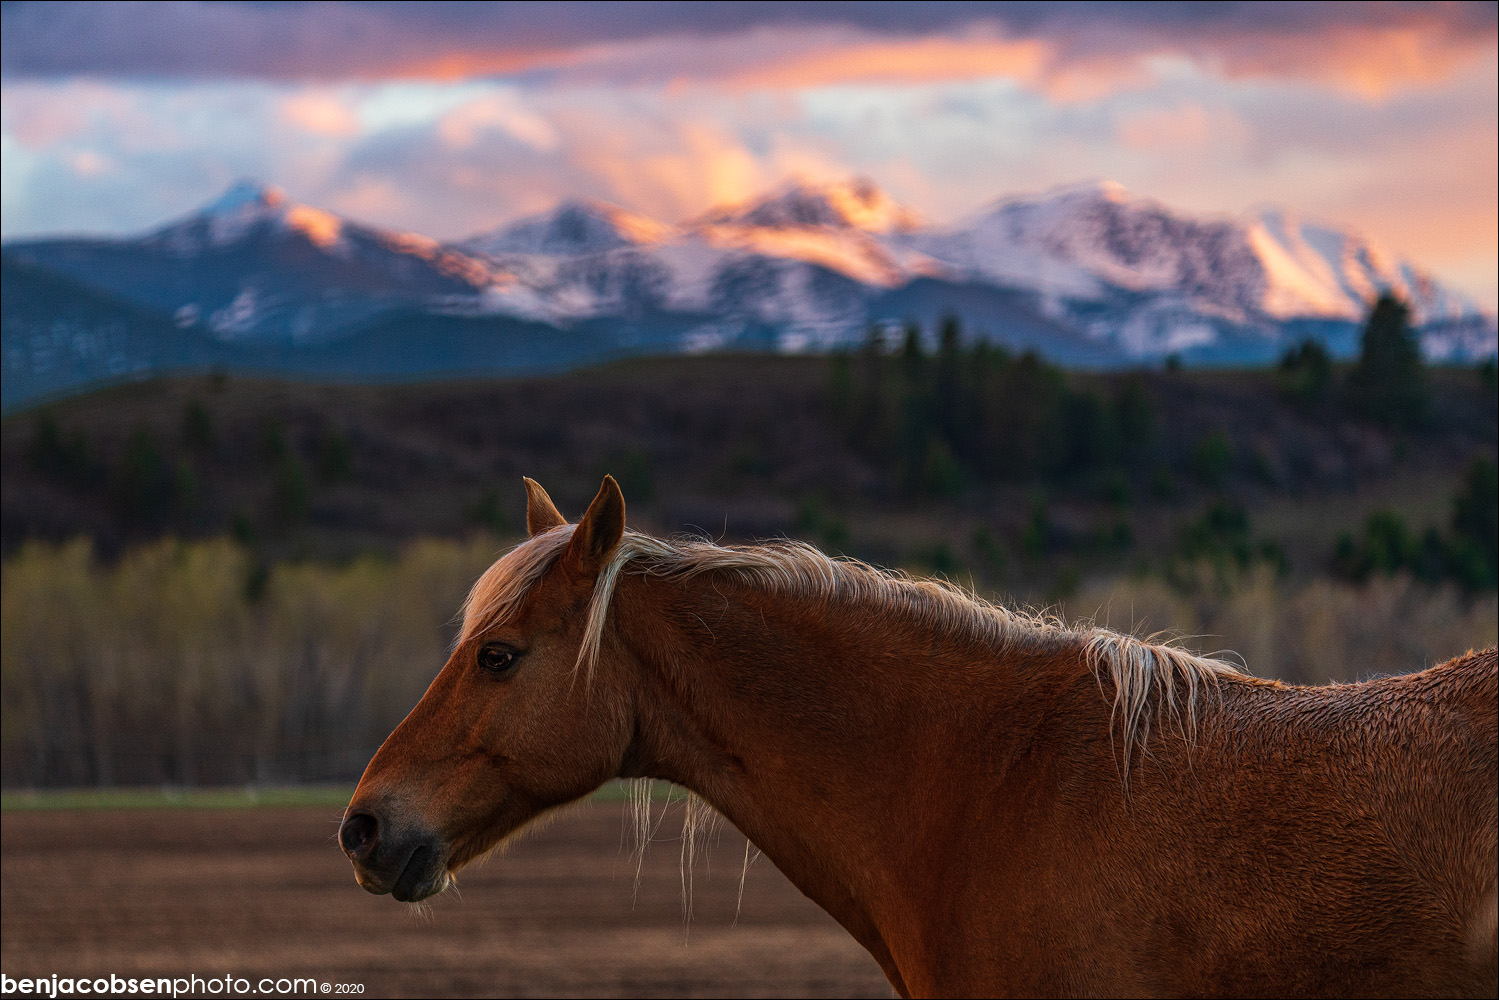
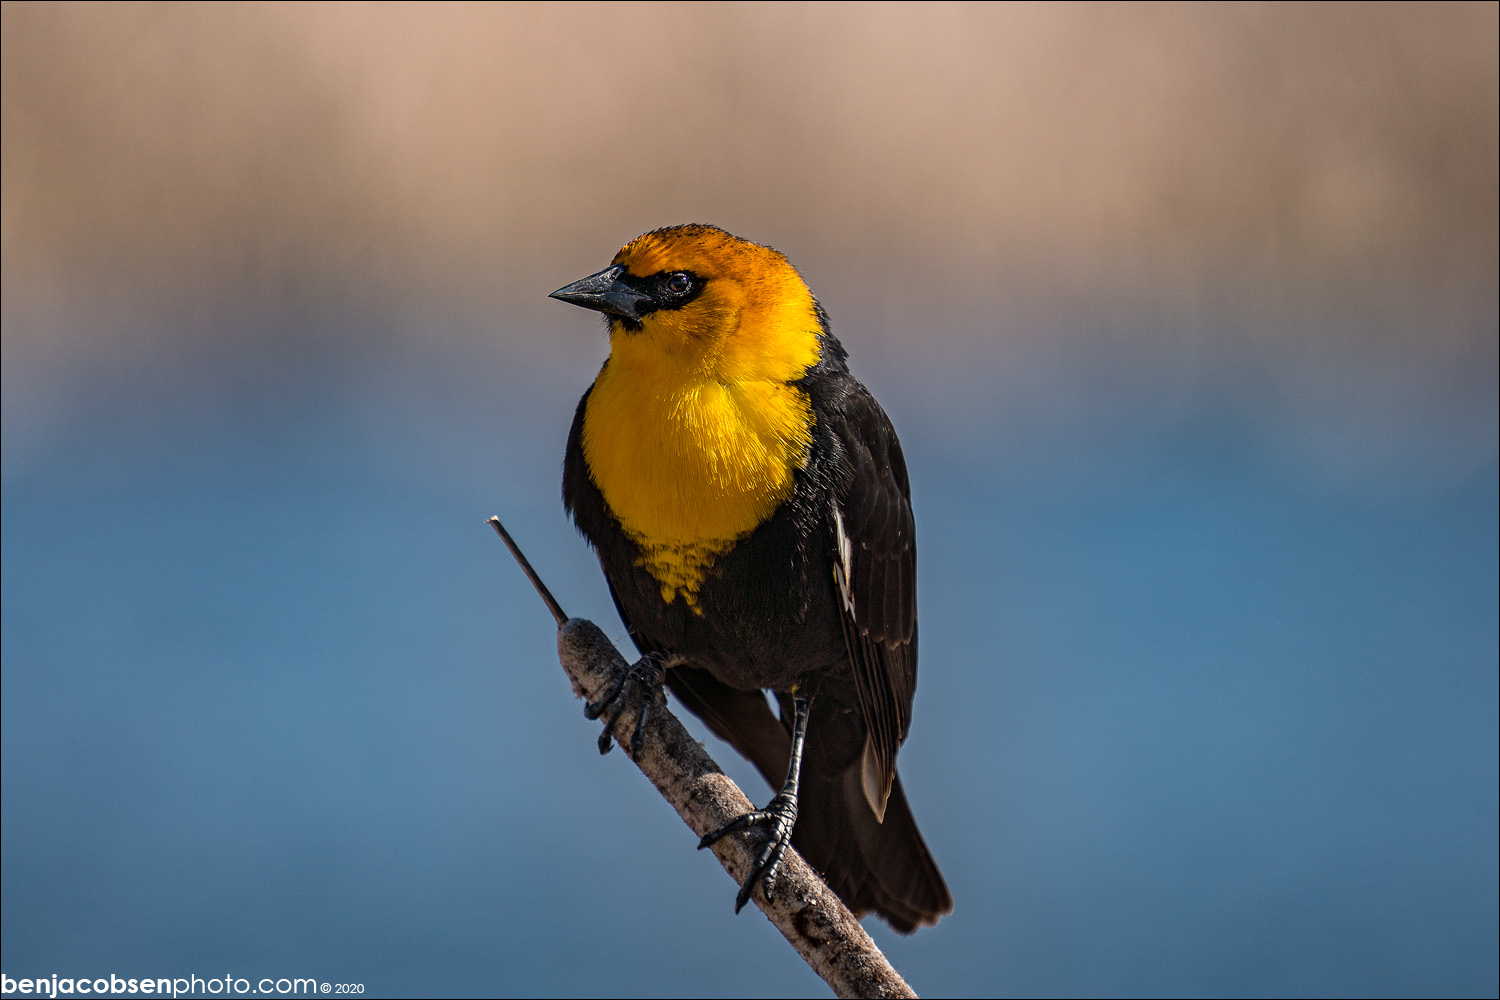
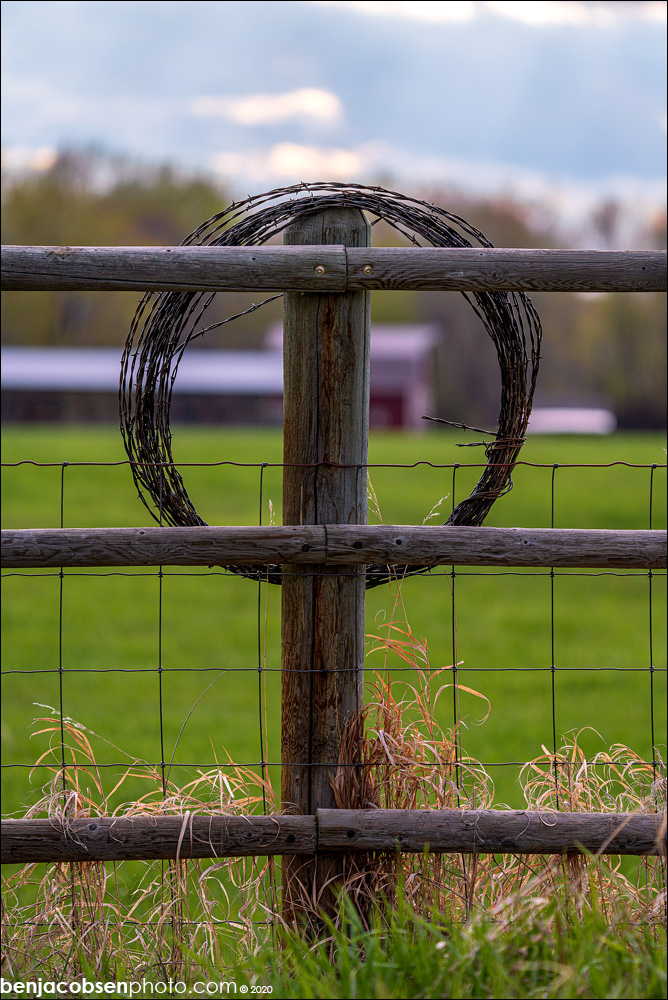
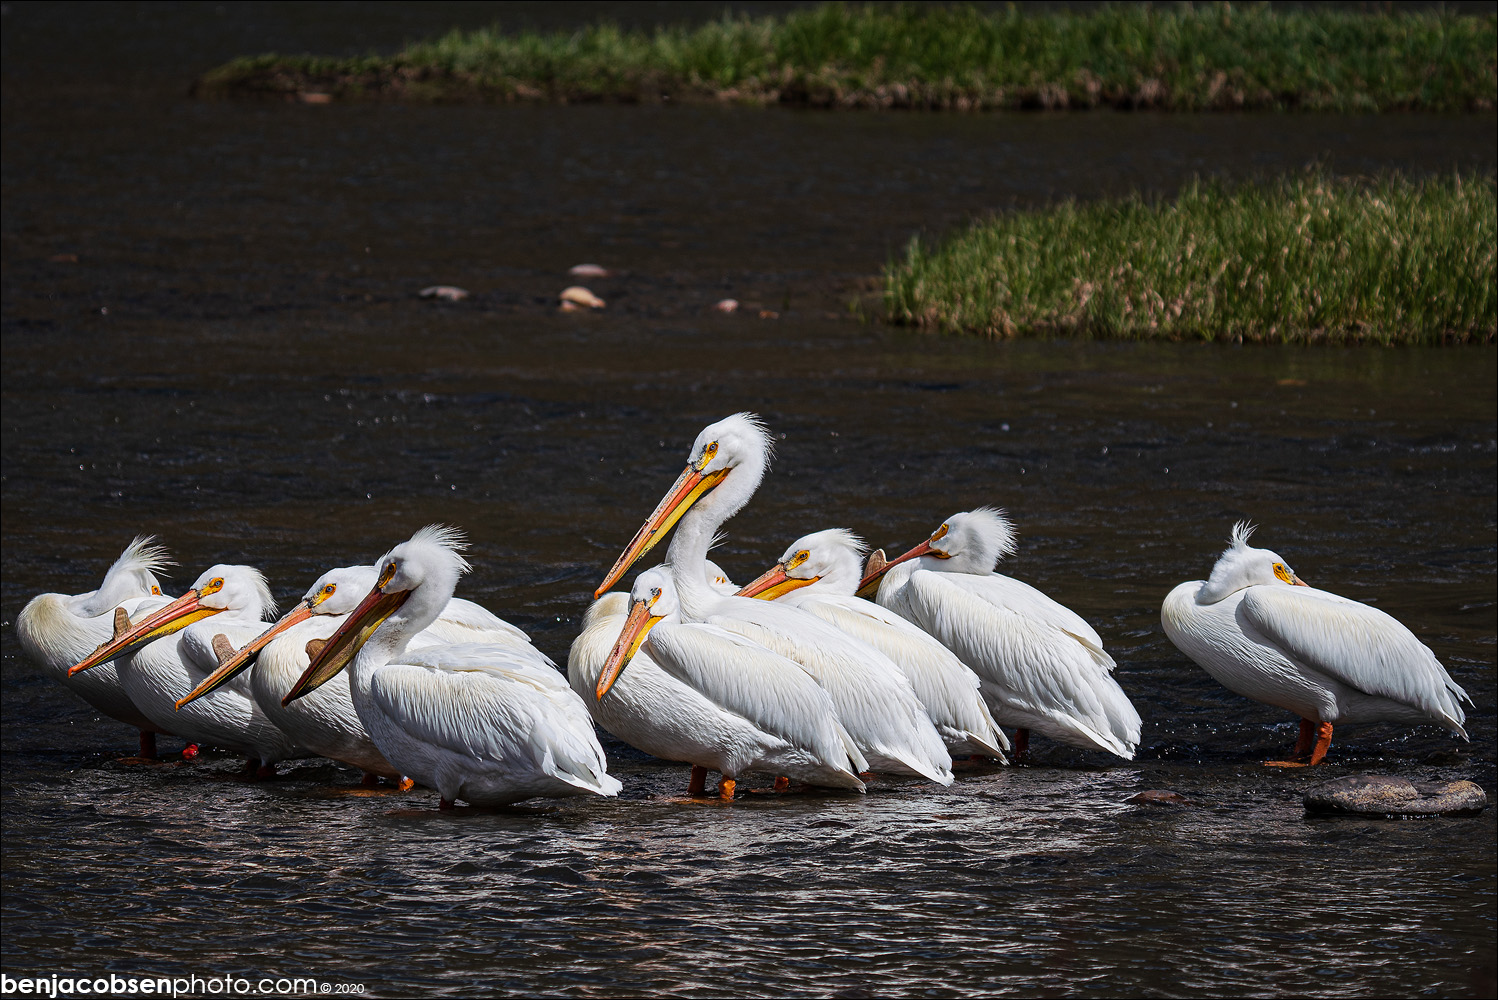
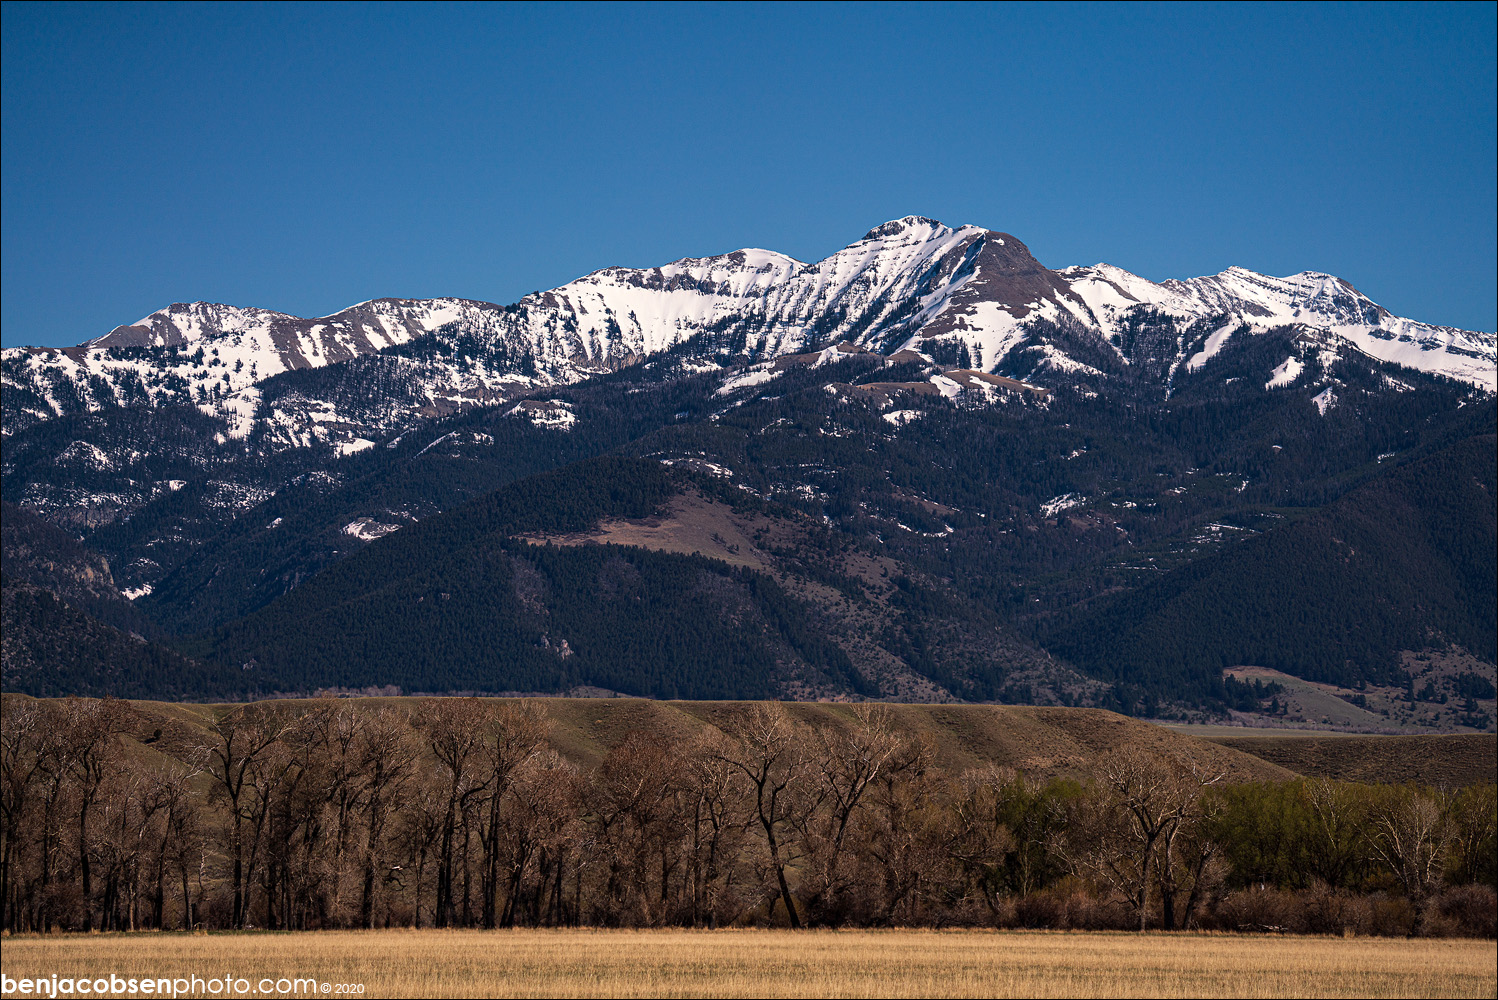
The samples in this post are all shot with my sony a7riii and the sony 200-600mm. None are shot with a teleconverter but about half are shot in crop mode. EXIF is intact if you have the ability to see/read it (I use a plugin in chrome). You’ll notice the backgrounds in some of the images are a bit busy, that’s the “bokeh” of the lens so I’ve left those samples alone. I might add some blur in post if I were to print those images but wanted to share examples of what the lens produces, not what I can fix in photoshop. Of course I had to sneak in a cat photo, what lens review is complete without a cat photo?!

